Smeg WDI14C7 Manuel d'instructions Page 19
- Page / 32
- Table des matières
- DEPANNAGE
- MARQUE LIVRES
- WASHER-DRYER 1
- = brown 5
- = blue 5
- = yellow-green 5
- 2.1 UNPACKING 6
- 2.4 CONNECTING TO THE DRAIN 8
- 2.5 ELECTRICAL CONNECTION 8
- 3. DESCRIPTION OF CONTROLS 9
- 4.2 OPENING THE DOOR 10
- 4.3 LOADS OF WASHING 10
- 4.6 POWDER DETERGENT DOSES 12
- 4.7 LIQUID DETERGENT DOSES 12
- 4.8 DESCALERS 12
- 4.9 PROGRAMMES AND FUNCTIONS 12
- Options 13
- 4.12 TIME REMAINING 14
- Child Lock Symbol 15
- 5.1 GENERAL 16
- 5.2 WASH-AND-DRY PROGRAMME 17
- 5.3 DRY ONLY PROGRAMME 17
- 6. CLEANING AND MAINTENANCE 18
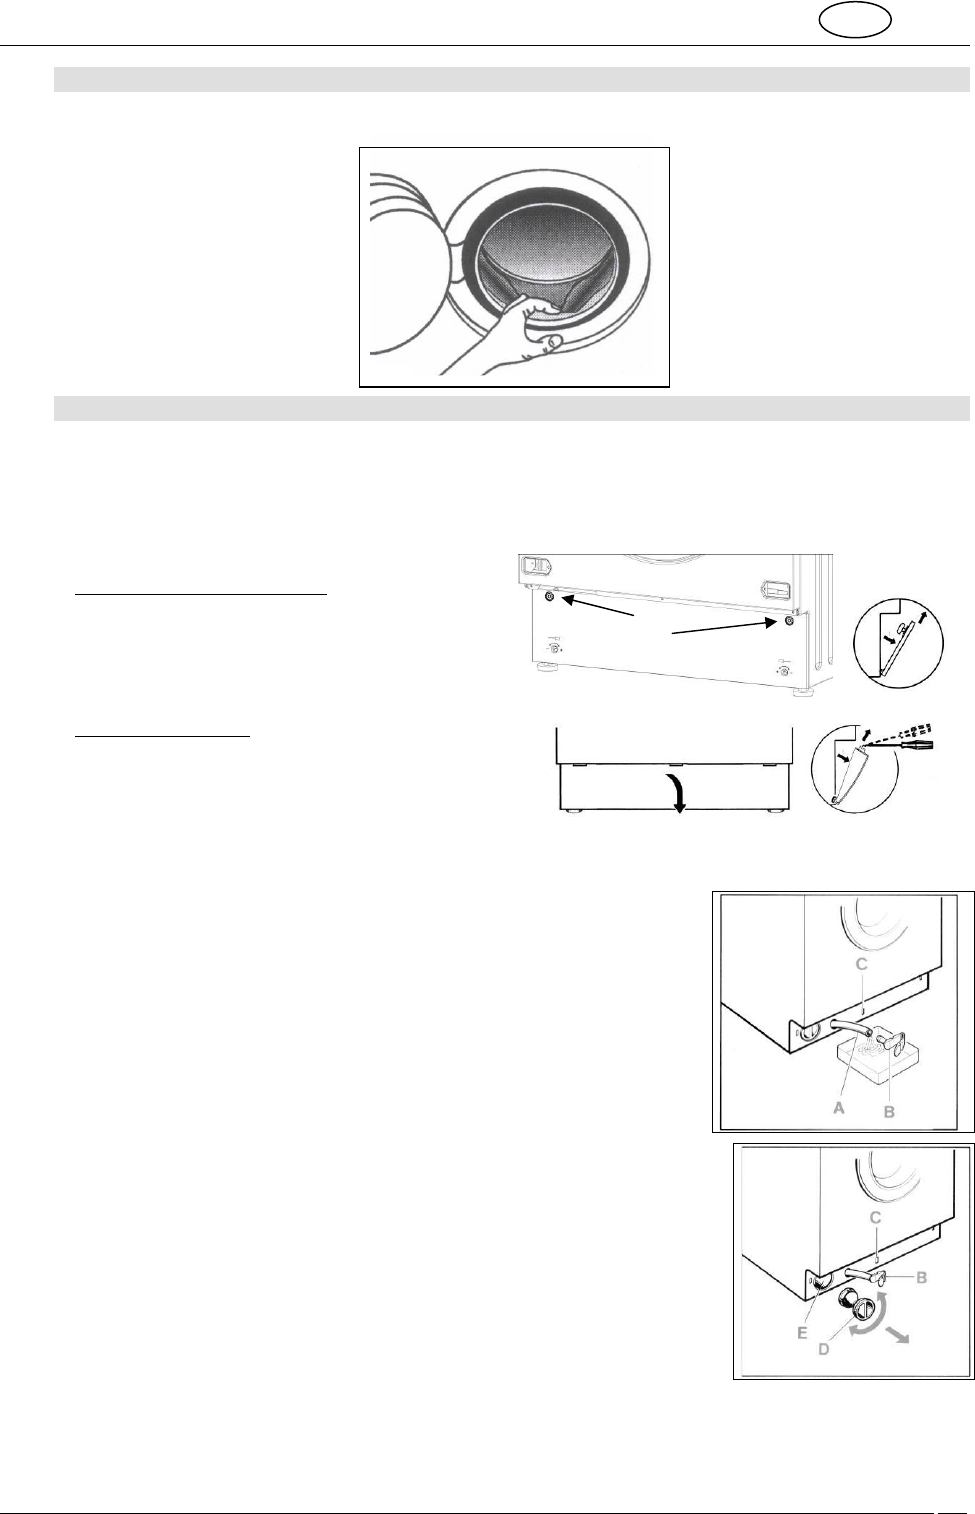
- 6.3 CLEANING THE DOOR GASKET 19
- 6.4 CLEANING THE DRAIN PUMP 19
- 7. TROUBLESHOOTING 21
- ERROR DISPLAY 22
- PROGRAM GUIDE 23
- Ø2mmØ2mm 30
- Ø 35mmØ35mm 30
Produits connexes et manuels pour Laveuses-sécheuses Smeg WDI14C7
 (34 pages)
© 2020, manymanuals.fr. Tous droits réservés | 1.005 s |
 Manymanuals.com
 Manymanuals.de
 Manymanuals.fr
 Manymanuals.it
 Manymanuals.pl
 Manymanuals.cz
 Manymanuals.es
 Manymanuals-pt.com
Commentaires sur ces manuels